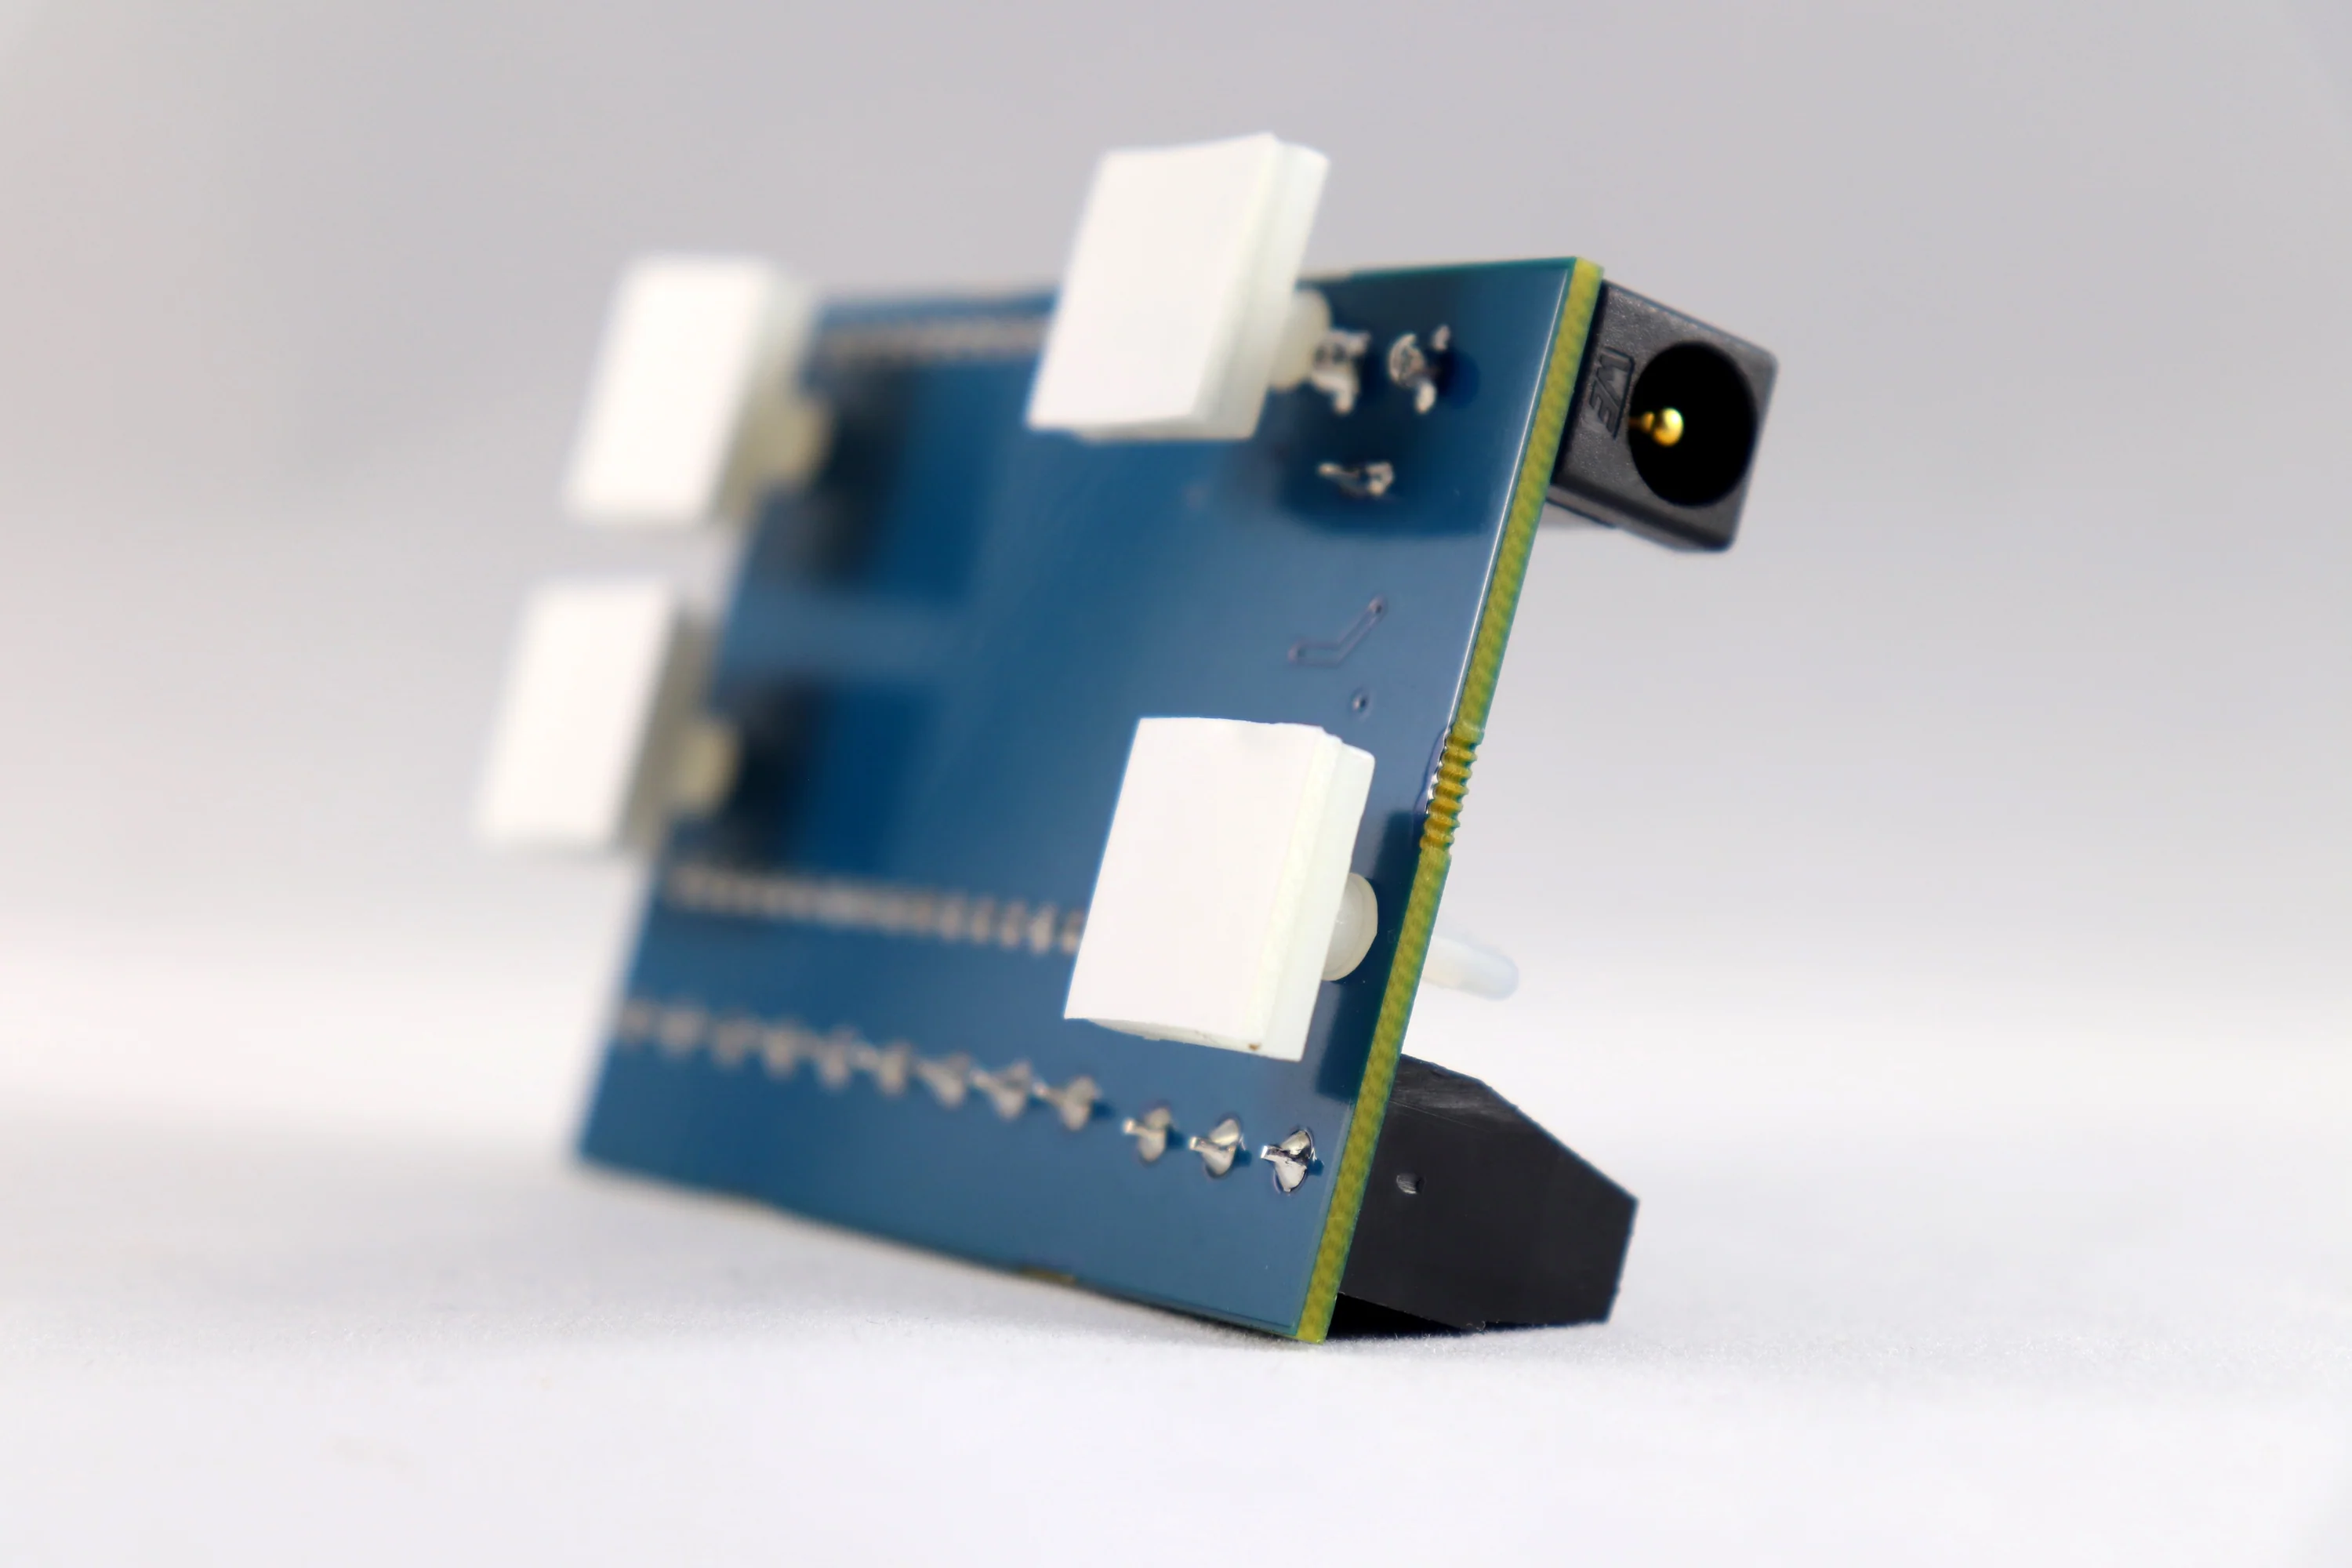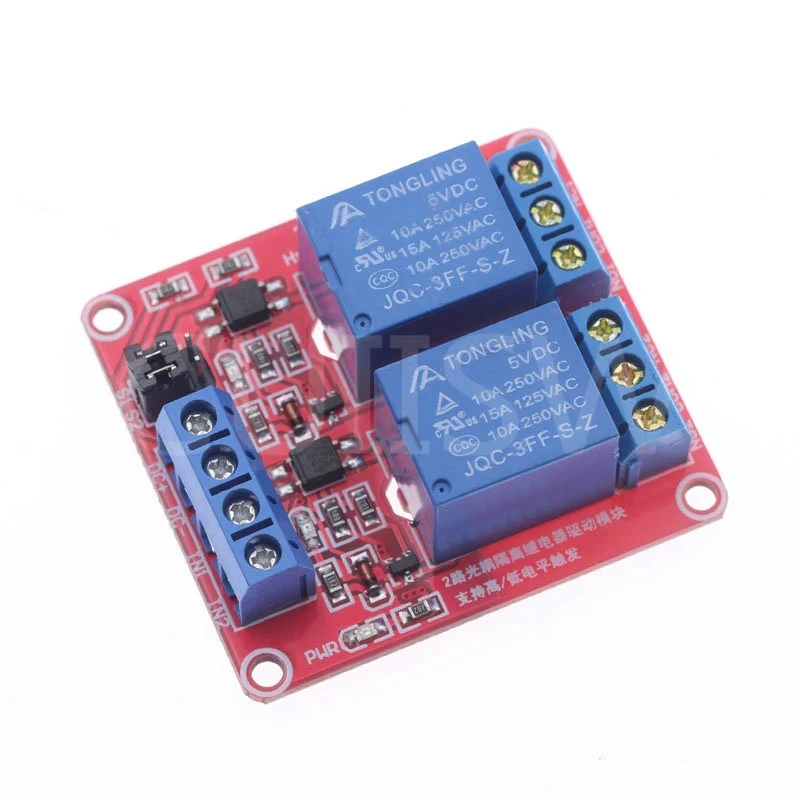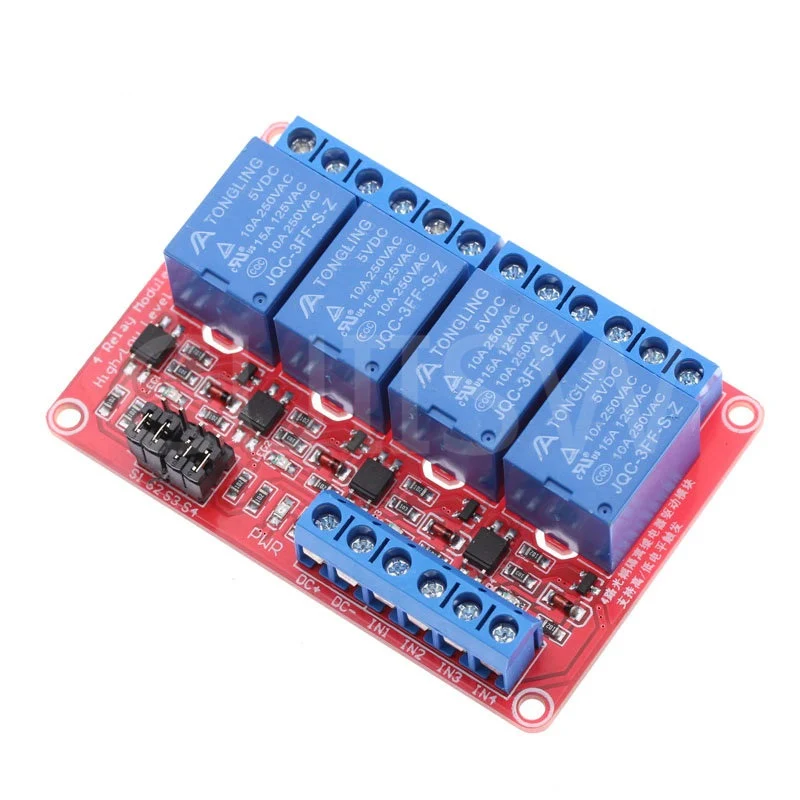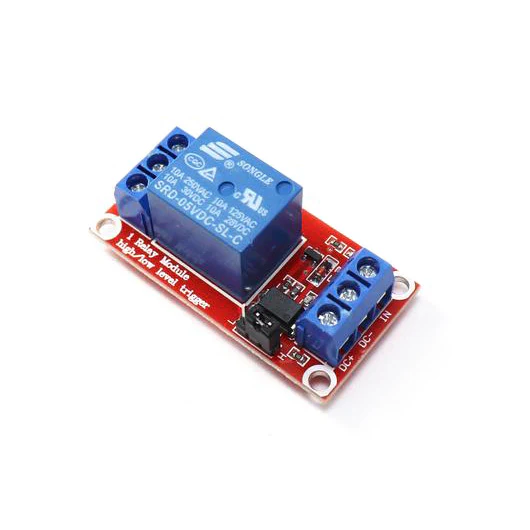
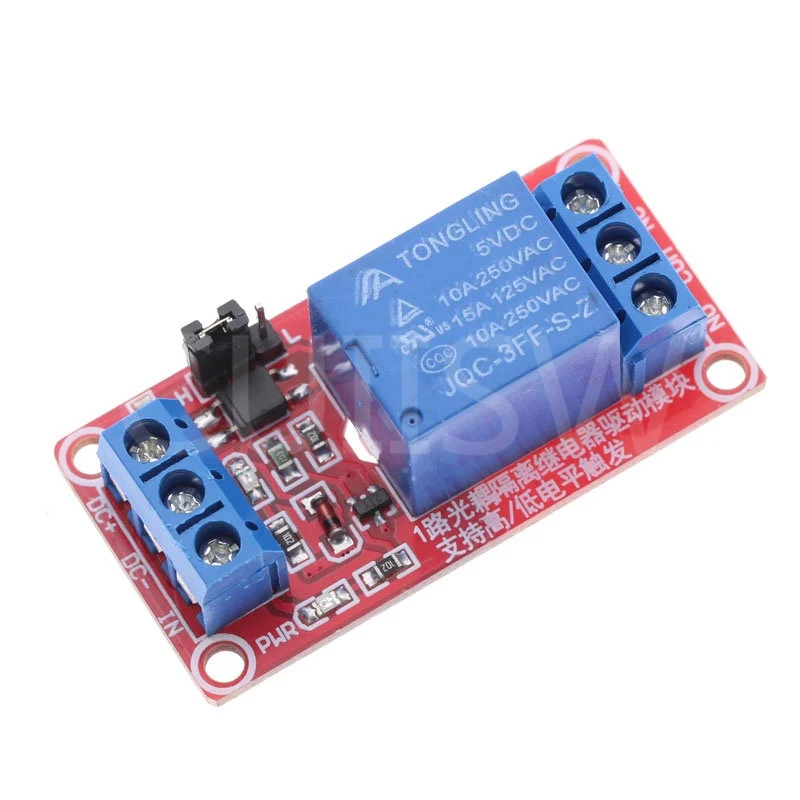
1 Channel 5V Relay Module with High/Low Level Trigger
- - Compact relay module with screw terminals for your switched devices
- - Normally Open (NO) and Normally Closed (NC) contacts
- - Configurable high or low level trigger with jumper -- can be used on all 6 outputs
- - Red indicator LED when relay is activated
- - Powered by 5V directly from the Konnected NodeMCU base
More about Relays
What is a Relay Module?A relay has two sides:
- Power/trigger side of the relay. In the case of Konnected, we power 5v DC relays through the Konnected Add-on board and use another wire to trigger it on/off. Without this side you would be unable to control the relay.
- Switched (NO/NC) side of the relay. On the other side of the relay you are passing current that can be switch on/off. You can either set up the relay to be Normally Open - meaning that circuit is not completed & current is not flowing until you switch it. Or you can set it up as Normally Closed - meaning that the circuit is complete and current is flowing until you switch it.
Wiring the Power/Trigger Side
- 5v Konnected goes to VCC Relay
- GND Konnected goes to GND Relay
- Zone or Out Konnected (depending on which zone you are using to trigger the relay) goes to IN
Wiring the Switch Side
- You will always have a wire in the COM (Center Connector)
With the switch side pointing up:
- NO will be on the right of center (Noted by NO or a broken line)
- NC will be on the left of center (Noted by NC or an unbroken line)
Important Notes for Konnected and Relays
-
There are only 5 pins/zones on the Konnected boards that can support both high & low-level trigger relays
- DIY Boards: D1, D2, D5, D6 & D7 on the DIY
- Production Boards: Zones 1-5 on the production boards.
- Pin RX and Out can support high level triggers ONLY.
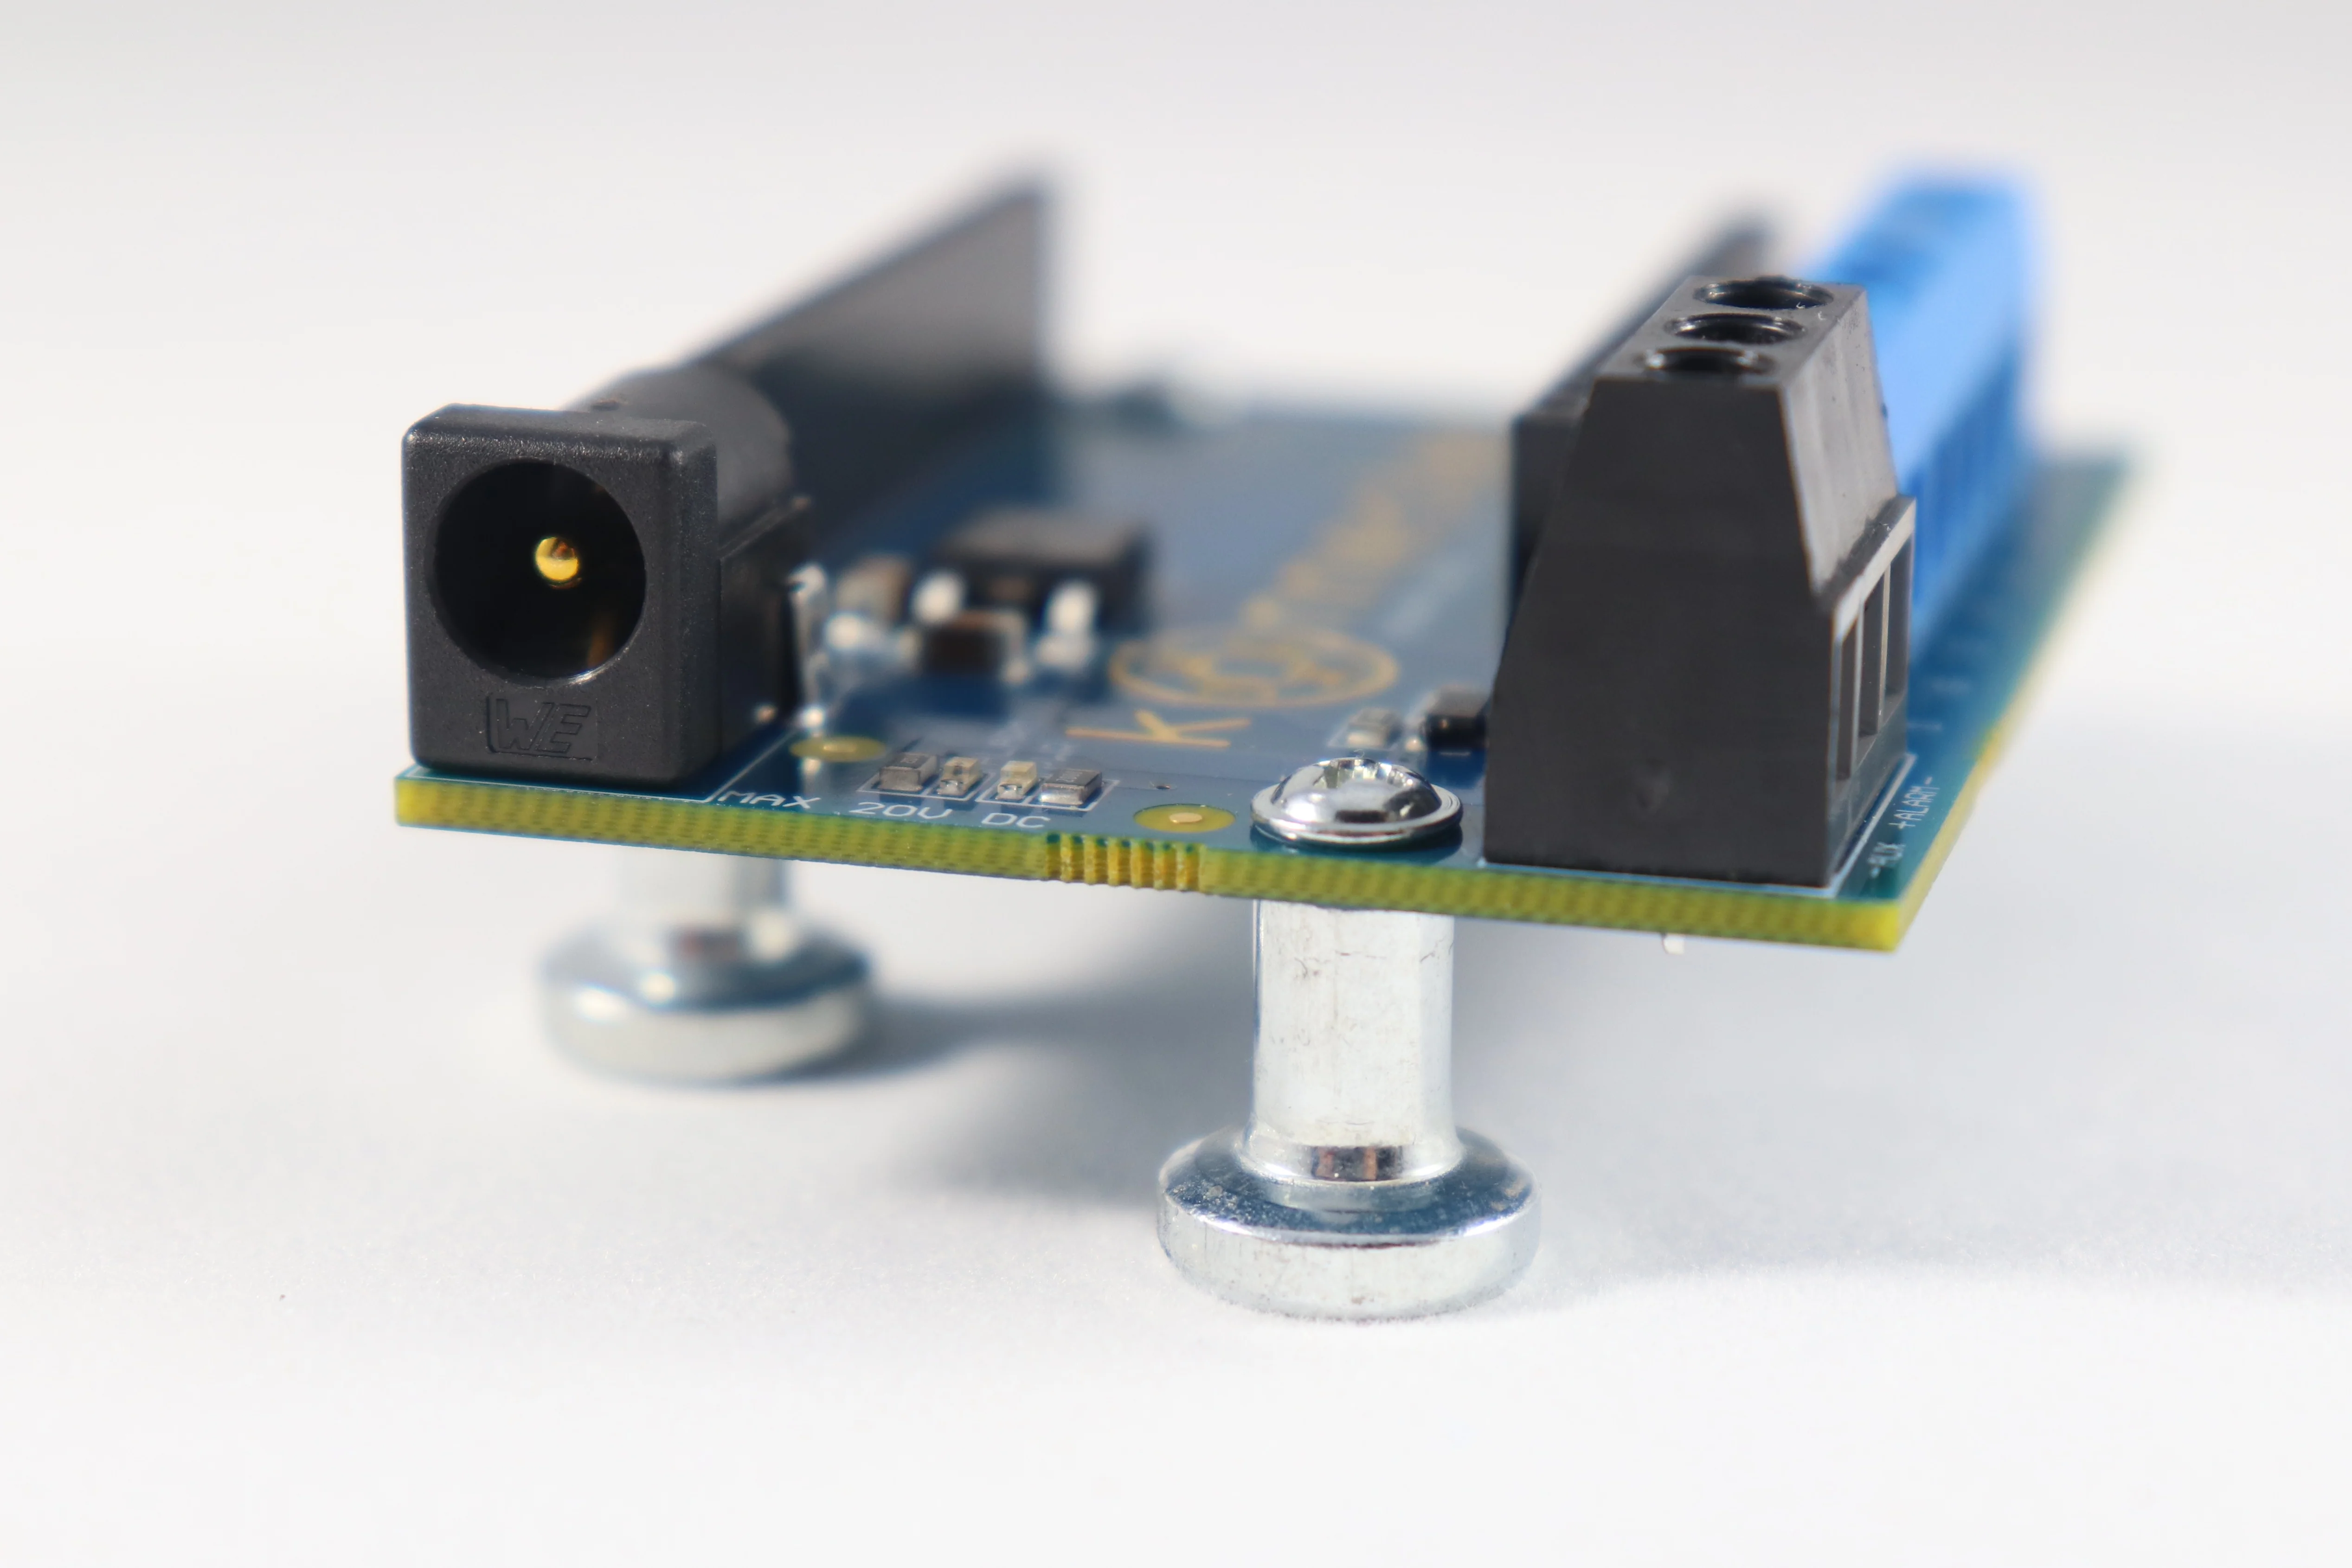
- The Maximum voltage that can pass through the Switched (NO/NC) side of the relays is written on them. Please exercise caution.
High and Low Triggers
What's the difference?
- Low-level triggered will allow the current to go through the power line when the control signal is below a certain voltage.
- High-level triggered will allow the current to go through the power line when the control signal is above a certain voltage.
Momentary Switch
This is where the switch is either switched on or off for a very short period of time - think of it as a quick button push & release. For instance for a garage door you just need to briefly close the circuit to actuate the garage door motor.
More Images
1 Channel 5V Relay Module with High/Low Level Trigger
- - Compact relay module with screw terminals for your switched devices
- - Normally Open (NO) and Normally Closed (NC) contacts
- - Configurable high or low level trigger with jumper -- can be used on all 6 outputs
- - Red indicator LED when relay is activated
- - Powered by 5V directly from the Konnected NodeMCU base
More about Relays
What is a Relay Module?A relay has two sides:
- Power/trigger side of the relay. In the case of Konnected, we power 5v DC relays through the Konnected Add-on board and use another wire to trigger it on/off. Without this side you would be unable to control the relay.
- Switched (NO/NC) side of the relay. On the other side of the relay you are passing current that can be switch on/off. You can either set up the relay to be Normally Open - meaning that circuit is not completed & current is not flowing until you switch it. Or you can set it up as Normally Closed - meaning that the circuit is complete and current is flowing until you switch it.
Wiring the Power/Trigger Side
- 5v Konnected goes to VCC Relay
- GND Konnected goes to GND Relay
- Zone or Out Konnected (depending on which zone you are using to trigger the relay) goes to IN
Wiring the Switch Side
- You will always have a wire in the COM (Center Connector)
With the switch side pointing up:
- NO will be on the right of center (Noted by NO or a broken line)
- NC will be on the left of center (Noted by NC or an unbroken line)
Important Notes for Konnected and Relays
-
There are only 5 pins/zones on the Konnected boards that can support both high & low-level trigger relays
- DIY Boards: D1, D2, D5, D6 & D7 on the DIY
- Production Boards: Zones 1-5 on the production boards.
- Pin RX and Out can support high level triggers ONLY.
- The Maximum voltage that can pass through the Switched (NO/NC) side of the relays is written on them. Please exercise caution.
High and Low Triggers
What's the difference?
- Low-level triggered will allow the current to go through the power line when the control signal is below a certain voltage.
- High-level triggered will allow the current to go through the power line when the control signal is above a certain voltage.
Momentary Switch
This is where the switch is either switched on or off for a very short period of time - think of it as a quick button push & release. For instance for a garage door you just need to briefly close the circuit to actuate the garage door motor.
Product Information
Product Information
Shipping & Returns
Shipping & Returns
Description
- - Compact relay module with screw terminals for your switched devices
- - Normally Open (NO) and Normally Closed (NC) contacts
- - Configurable high or low level trigger with jumper -- can be used on all 6 outputs
- - Red indicator LED when relay is activated
- - Powered by 5V directly from the Konnected NodeMCU base
More about Relays
What is a Relay Module?A relay has two sides:
- Power/trigger side of the relay. In the case of Konnected, we power 5v DC relays through the Konnected Add-on board and use another wire to trigger it on/off. Without this side you would be unable to control the relay.
- Switched (NO/NC) side of the relay. On the other side of the relay you are passing current that can be switch on/off. You can either set up the relay to be Normally Open - meaning that circuit is not completed & current is not flowing until you switch it. Or you can set it up as Normally Closed - meaning that the circuit is complete and current is flowing until you switch it.
Wiring the Power/Trigger Side
- 5v Konnected goes to VCC Relay
- GND Konnected goes to GND Relay
- Zone or Out Konnected (depending on which zone you are using to trigger the relay) goes to IN
Wiring the Switch Side
- You will always have a wire in the COM (Center Connector)
With the switch side pointing up:
- NO will be on the right of center (Noted by NO or a broken line)
- NC will be on the left of center (Noted by NC or an unbroken line)
Important Notes for Konnected and Relays
-
There are only 5 pins/zones on the Konnected boards that can support both high & low-level trigger relays
- DIY Boards: D1, D2, D5, D6 & D7 on the DIY
- Production Boards: Zones 1-5 on the production boards.
- Pin RX and Out can support high level triggers ONLY.
- The Maximum voltage that can pass through the Switched (NO/NC) side of the relays is written on them. Please exercise caution.
High and Low Triggers
What's the difference?
- Low-level triggered will allow the current to go through the power line when the control signal is below a certain voltage.
- High-level triggered will allow the current to go through the power line when the control signal is above a certain voltage.
Momentary Switch
This is where the switch is either switched on or off for a very short period of time - think of it as a quick button push & release. For instance for a garage door you just need to briefly close the circuit to actuate the garage door motor.